Step 1: Go to www.eclipse.org and download the proper version of Eclipse for your operating system. I happen to be developing on a 64-bit Mac running Mac OS X Leopard, so I downloaded the Mac Cocoa 64-bit version.

Step 2: Unzip the downloaded *.tar.gz file (double-click it) and move the "eclipse" folder to the root of your hard drive. Eclipse is installed!
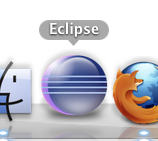
Step 3: In the /eclipse directory, you'll find a Eclipse.app file. Double clicking it will start Eclipse. I prefer to drag this file down to the Dock for easy access.

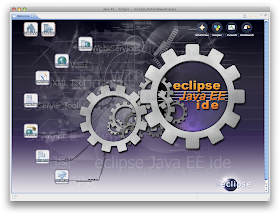
Step 4: Once Eclipse is started, you'll be greeted by the Eclipse welcome screen.

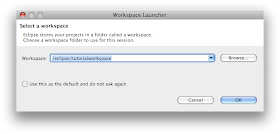
Step 5: Click on the Workbench icon in the upper right corner to get to the workbench. You'll be asked to choose a workspace. This is where all your Java EE projects will reside.

Piece of Cake!!
No comments:
Post a Comment