Using MySQL and Java? Check out an easier way: Yank
Setting up Eclipse as a MySQL development environment using the Database Development perspective is quite easy. Here you will find a step-by-step guide showing how to set up Eclipse for MySQL development. The tutorial shows how to get the right version of Eclipse, how to setup a MySQL database, how to get and use the Connector/J database driver, how to connect to a database within Eclipse, and how to create a table containing some sample data.
Step 1: Download and Install the Eclipse IDE for Java EE Developers.

Step 2: Download the Connector/J MySQL Database Driver.

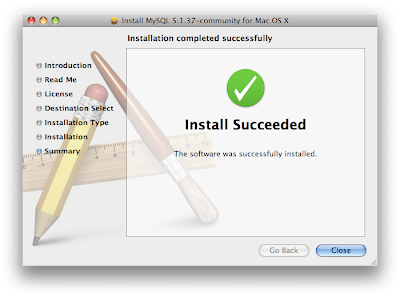
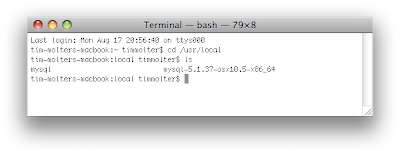
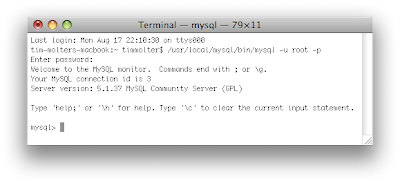
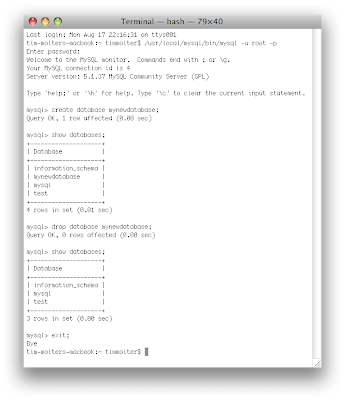
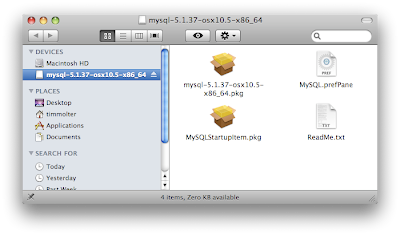
Step 3: Download, Install, and start up MySQL. If you're developing on a Mac, see: Install MySQL on Mac OS X.
 Step 4: Open up Eclipse and switch to the "Database Development" perspective (Window --> Open Perspective --> Other... --> Database Development perspective).
Step 5: Connect to your MySQL database.
In the "Data Source Explorer" view, right click on "Database Connections" and select "New...".

On the first page of the "New Connection Profile" Wizard, select the "MySQL" connection profile type and hit "Next >".
 Click the circle with a plus sign next to the "Drivers" drop-down box.
On the "Name/Type" tab, select the MySQL JDBC Driver version 5.1 (or whatever version you downloaded). Just ignore the error in the wizard for now.
 On the "Jar List" tab, add the driver .jar from the package that you downloaded and remove the default .jar that was added to the list. The error message in the wizard should now disappear. Click "OK".
 On the second page of the "New Connection Profile" Wizard, edit the connection properties. In the "Database" and "URL" fields, change the word "database" to the actual name of the database you want to connect to. Change the URL, User name and Password appropriate to your circumstance. By default the MySQL database setup creates a root user with a blank password. Test the connection and hit "Finish".
Step 6: Create a table.
In the main Eclipse menu, select File --> New --> SQL File.

In the "New SQL File" wizard, select the folder where the SQL file should be stored. Create a new project if you don't have one yet. Give the file a name and hit "Finish".
 In the SQL Editor view, write an SQL statement to add a table to the selected database. Highlight the text to be executed, right click, and choose "Execute Selected Text".
Step 7: Add data to the table.
In the "Data Source Explorer" view, dig down into the directory structure until you find your table in the "Tables" folder. Right click on it and choose Data --> Edit.

In the table editing view that appeared, add your data. Save to commit your changes.

Piece of cake!!


