- Jenkins (install tutorial)
- Git (install tutorial)
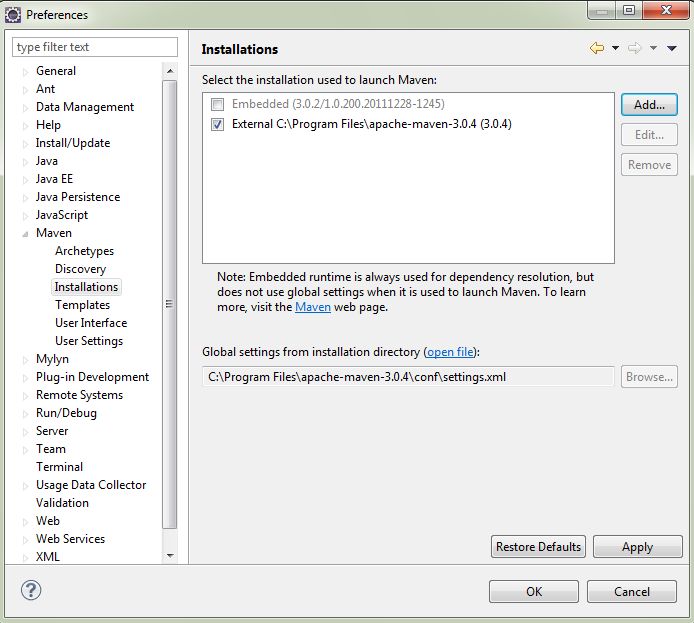
- Maven (install tutorial)
Why CI?
Continuous integration attempts to automate building and testing of source code at regular intervals in order to alert a team as early as possible about problems and merging issues.From Wikipedia: Continuous Integration, "In software engineering, continuous integration (CI) implements continuous processes of applying quality control — small pieces of effort, applied frequently. Continuous integration aims to improve the quality of software, and to reduce the time taken to deliver it, by replacing the traditional practice of applying quality control after completing all development."
From Martin Fowler: "Continuous Integration is a software development practice where members of a team integrate their work frequently, usually each person integrates at least daily - leading to multiple integrations per day. Each integration is verified by an automated build (including test) to detect integration errors as quickly as possible. Many teams find that this approach leads to significantly reduced integration problems and allows a team to develop cohesive software more rapidly."
Configure Jenkins
Step 1: Enable security. From the Jenkins dashboard, navigate to 'Manage Jenkins' and then 'Configure System'. Note: Newer versions have this under "Configure Global Security" instead.1.a. Check 'Enable security'
1.b. Choose 'Jenkins's own user database'
1.c. Uncheck 'Allow users to sign up'
1.d. Choose 'Matrix-based security'
1.e. Enter an admin username next to 'User/group to add:'
1.f. Check all rights for the user.

1.g. Click 'Save'
1.h. Enter log in information for the admin user in the form that appears.

Step 2: Add a JDK. From the Jenkins dashboard, navigate to 'Manage Jenkins' and then 'Configure System'.
2.a. Click 'Add JDK' and enter Name and JAVA_HOME.

2.b. Click 'Apply'
Step 3: Add Maven information.
3.a. Click 'Add Maven' and enter Name and MAVEN_HOME.

3.c. Click 'Save'
Step 4: Add Git information.
4.a. From the Jenkins dashboard, navigate to 'Manage Jenkins' and then 'Manage Plugins'.
4.b Click on the 'Available' tab and search using the browser (CTRL+F) for 'git plugin'.
4.c. Check 'Git Plugin' and click 'Download now and install after restart'. The install can take a while.
4.d. From the Jenkins dashboard, navigate to 'Manage Jenkins' and then 'Configure System'.
4.e. Add Git information.

4.f. Add Git user and email info under section "Git Plugin".

4.g. Click 'Save'.
Step 5: Configure a Jenkins Job.
5.a. From the Jenkins dashboard, navigate to 'New Job'.
5.b. Enter a 'Job Name' and select 'Build a maven2/3 project'. Click 'OK'.

5.c. Enter a 'Description'.
5.d. Select 'Discard Old Builds'.
5.e. Enter an amount by 'Max # of builds to keep'.

5.f. Select 'Git' and enter a 'Repository URL'. If you wanted to track a git repo on Github, this is where you would enter the git URL.

5.g. Check 'Poll SCM' and add '* * * * *' to 'Schedule'. '* * * * *' is a cron expression which means 'every minute'.
5.h. Under 'Build' add a Maven goal in 'Goals and options'.

5.i. Click 'Save'.
Step 6: Run the Job.
6.a. From the Jenkins dashboard, run the new job by clicking the clock with arrow icon on the far right. If everything is set up correctly, the job should run and a blue ball should appear. You may have to refresh the page after the job runs to refresh the ball.

If you need to debug a Jenkins job either while it is running or after it is finished, you can view console output. From the dashboard, click on the job name. Once on the job's page, hover over a link in the 'Build History' section and select 'Console Output'.

Also, when you push new commits to the git repo, Jenkins should recognize that and start the job automatically.
Piece of Cake!!!
Helpful Links
Install Jenkins on Windows as a Windows ServiceHello World - Maven, M2Eclipse and Eclipse
Setup Git on Windows